The University of Aberdeen WordPress Content Management System provides a number of options when it comes to the publishing of Pages, Posts and Custom Content Types.
Scenario 1: Publish
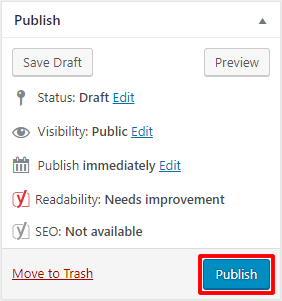
Typically, you will construct and publish your content in one sitting. You will add a new Page, Post of Custom Content Type, such as News, Events or Profiles, and will enter all of the required information before then clicking the Publish button.
- Add Page / Post / News Item / Event / Profile
- Add required content
- Click Publish button
However, this is not always the case.
Scenario 2: Draft
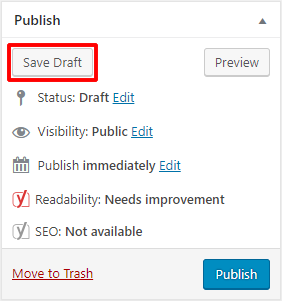
You may find that you are unable to complete your content in one sitting. Perhaps something else has come up or you find that you do not have all of the required content. Regardless of the reason, you find that you are unable to complete your web content. If this happens, you can instead click the Save Draft button, and can then return to your content to finish it at a latter date / time.
- Add Page / Post / News Item / Event / Profile
- Add content
- Click Save Draft button
- Return to edit the Page / Post / News Item / Event / Profile at a later date / time
- Click Publish button
Your content is displayed with a Draft message, to indicate that it is not published.
The following illustrates a draft post displayed in the admin Posts page:
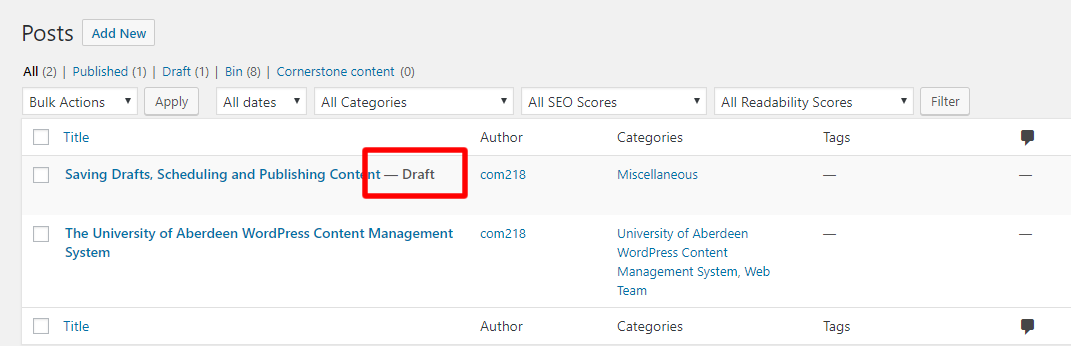
Content can be left in Draft state until you are ready to return to it and complete it.
Scenario 3: Schedule
Regardless of whether you complete your content in one sitting or not, there may be occasion when you want content to go live at a certain date / time. This functionality would prove useful in the case of, for example, a news embargo, where the embargo ends outwith typical working hours. It is possible in circumstances such as this to prepare content in advance, and to specify when it goes live.
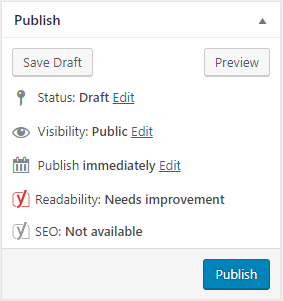
The Publish area, found to the right hand side of the page, controls the publication date and time.
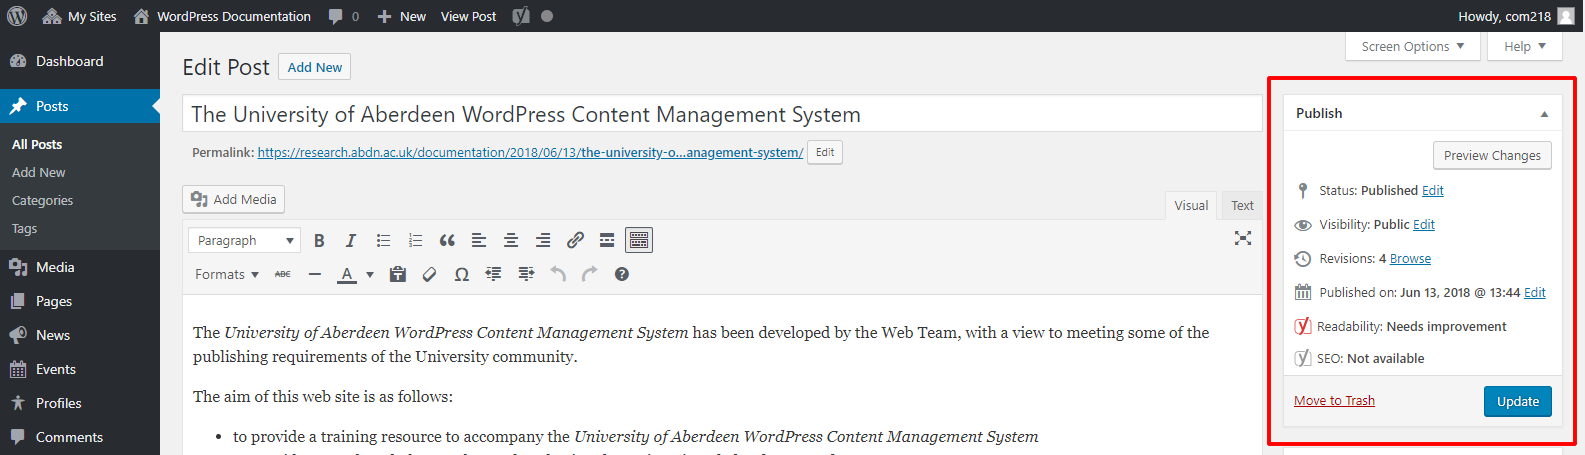
Typically WordPress is set to publish whenever the Publish button is clicked.
However, WordPress provides the means to add Posts, Pages, News, Events and Profiles with a future publication date.
- Click the Edit link directly to the right of Publish immediately
WordPress displays a Month dropdown menu, and text boxes for date, year, hours and minutes.
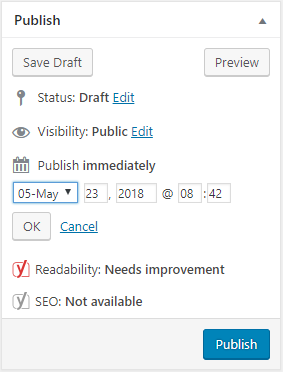
- Select the required Month
- Enter the required date, year, hour and minutes
- Click OK
Whatever date and time has been selected is displayed alongside ‘schedule’, which has replaced ‘Publish immediately’.
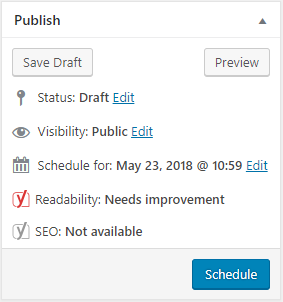
- Click the Schedule button once you have completed your Page/Post/News Item/Event/Profile
The item will be displayed on your website at the designated time.